On 21 April 2025, I learned that mankind did not go to the Moon. In the half-year that followed, my eyes were continuously opened to the deception that runs the world, 179 days of stressful loss of innocence. Hopefully this ended on 17 October when I became reasonably certain and have hopefully accepted finally that most people will never really see the matrix, possibly including myself.
Dave Chapelle described being called crazy “incredibly stressful”. I have to agree.
7 Oct 2023: Israel attacked.
Jan 2024 Katt Williams, “all lies will be exposed in 2024”
Sep 2024 Sean Combs arrested.
2025
~ late Jan I searched for Blake Lively Justin Baldoni, looking for random gossip, and found Candace Owens.
~ Mar I listened to Candace’s Becoming Brigitte series.
18 Apr I sent a text that confirmed that I firmly believed Trump had been shot, a fact I had been using to “know” that Trump was real opposition because you can’t fake being shot.
23 May I decided to see Katt Williams because I remembered him saying “all lies will be exposed.” “No one knows why liars lie.”
May sometime, I watched the documentary Loose Change and it shattered that near-lifetime foundational belief in 2 hours.
12 June: I texted, “I see the matrix. I cannot unsee it” and I believe that remains true. I cannot unsee it, and although it sounds funny, it is really like a matrix.
25 June I realized the Trump assassination attempt in Butler Pennsylvania was fake. Trump was not shot. His shoes came off though (submission to the lodge).
16 July Trump called the Epstein case a hoax.
19 August car break-in.
10 September Charlie Kirk was “shot”
20 September I received the palm pistol video and “Khazarian Mafia” article.
26 September, afternoon: I published my video on khaki shirt (who apparently is Rick Cutler).
26 September, evening I saw Katt Williams live in Columbus.
27 September, evening I realized Candace Owens is controlled opposition… along with almost everybody else. My “heroes” list became my controlled opposition list.
10 October no school shootings I was wrong about that. Not predictive.
11 October I can describe the extra layer required to explain our experience.
17 October conversation with friend. Conclusion, I will not change minds. Many will never see what I see.
10 Dec – 6 Jan: Peru. Lots of reading.
Jan 2026: in hindsight, writing this in Apr 2026, I think it was not until Jan 2026 that the mental turmoil truly leveled off and I think I am now gradually learning to practically implement the conclusion from 17 October that there are many minds I will not change.
I believe we are supposed to note the parallels of the movie Snake Eyes from 1998 with current events. Not “maybe connected”, not “maybe coincidence”, not just “predictive programming”, this is full-on same plot different context. There are 5 to 10 name matches even depending on how you count. We are supposed to see this. If you do not see this, you are choosing to look away.
Numbered List of Parallels: 1998 Movie / 2025 Real Life
*Charles Kirkland / Charlie Kirk
*Assassinated, shot in the left side of the neck, exact same spot.
*September 10th
*Tyler the Executioner boxer / Tyler Robinson “assassin”
*Took a fall on purpose to mask the real shooter.
*Neck shot blood special effects look identical.
*Commander Kevin Dunn Charles Kirkland friend / Bill Dunn Charlie Kirk Turning Point first financial backing.
*Old guy with long hair “Zeitz” makes a scene and signals boxer to take fall with “bring the pain” / Old Guy George Zinn first person arrested after waving his arms saying he was the shooter.
Filmed in Atlantic City, partially in Trump Casinos / Trump president
“Powell’s globe” / Jerome Powell’s federal reserve global financial system
Israel arms deal exposed by Charles Kirkland / Israel political activities exposed by Charlie Kirk
Tarik Ben Rabat Palestinian extremist assassin / Israel – Palestine war.
*Anthea, black female reporter trying to report the truth / Candace Owens, black female podcaster trying to report the truth.
*Carla Gugino lead female role later played Elizabeth Kirk in July 2025 movie Heads of State who hires assassins to kill president / Erika Kirk widely believed suspicious.
*Julia Costello all-white outfit with blonde wig / Erika Kirk all-white outfit with blonde hair.
Rick Santoro’s character uses a gold-colored cell phone / Trump Mobile cell phone released in 2025 is gold-colored.
Israel missile defense system “Air Guard” / Israel missile defense system “Iron Dome” both demonstrated with fireworks show.
*Hurricane Jezebel / Jezebel Etsy witches curse on Charlie and Erika Kirk 8 September 2025 (which they took seriously enough to pray about with a priest on evening of 9 September).
*Santoro to usher “HeyTwiggsy” / Lance Twiggs
*Crowd erupts as Tyler enters the arena / the guy celebrating chanting “USA USA” after Charlie Kirk assassination. Both are cheering Tyler the Executioner.
Unresolved Aspects of the Movie
“Swan song of the storied arena” planned last event / _____
Holiday weekend / nuclear scares over the holiday?
Hurricane Jezebel hits arena (tidal wave in original ending) / the tidal wave ending was taken out. I think it was decided to do everything except the most catastrophic ending.
Powell’s globe falls / end of Federal Reserve and Bretton Woods, new monetary system
Can’t leave arena until picture taken / digital IDs?
Arena was bankrupt / US is bankrupt
Julia Costello at the end: “It’s gonna be so different in Atlantic City” / _____
Ricky Santoro: “… 12-18 months from now …” / _____
Arena construction begins after immediately to be repurposed as a hotel / World Cup and Olympics as a rebuilding tool?
Coincidence Math
Movie Plot
Atlantic City Arena owner Gilbert Powell arranges for the assassination of both Secretary of Defense Charles Kirkland and whistleblower Julia Costello in order to continue his “Air Guard” missile defense system deal where he is supposed to profit enough to cover the cost of converting his arena to a hotel, the new Millenium Hotel and Casino.
Secretary of Defense Charles Kirkland received envelope from whistleblower who told about the “Air Guard” missile defense system that was sold to US by showing fake data and a fireworks show of fake missiles being stopped instead of real data and real missiles.
Arena owner Powell describes the whole scheme ~1:07 in an exchange with Commander Kevin Dunne. At the end of the exchange, he asks Dunne if he is an “acceptable loss” in the plan, and appears to realize at the time he’s worried he might be.
The globe on top of the arena in the movie is referred to as “Powell’s globe”, which probably refers to Jerome Powell’s globe, which would be the US federal reserve’s control of global currencies via the Bretton Woods agreement.
The 14,000 fight attendants not allowed to leave the arena until they were ID’ed because all were potential witnesses of the assassination. In the end, the people are still inside when hurricane Jezebel hits and knocks the globe off the top of the arena. Anthea is outside reporting as the globe falls.
Charlie and Erika Kirk were cursed via Etsy witches by a feminist website called Jezebel on 8 September 2025, two days before he was assassinated. I wouldn’t take this seriously, but apparently Erika Kirk did. Erika was supposedly so distressed by the curse that she asked a priest to pray with them on the night of 9 September, the night before Charlie was assassinated.
In the original ending, a huge hurricane-Jezebel-induced tidal wave goes through the arena while they are fighting about the assassination. Not good for the home team if this is predictive signaling.
Update January 2026: good for the home team, because it seems they decided to take out this ending!
Symbolism
Occurs during Hurricane Jezebel. In the biblical narrative, Jezebel replaced Yahwism with Baal and Asherah worship and was responsible for Naboth’s death. The weather reporter in the movie complains that she has “spin the weather” to call it a tropical storm because it’s a holiday weekend and they don’t want to scare away travelers.
Boxing match is the “swan song” for the Atlantic City Arena before it is to be gutted and renovated to become a hotel. The swan song is a metaphorical phrase for a final gesture, effort, or performance given just before death or retirement. The phrase refers to an ancient belief that swans sing a beautiful song just before their death while they have been silent (or alternatively not so musical) for most of their lifetime. In the movie, construction for the renovation begins the next day after the boxing match during the credits in the movie.
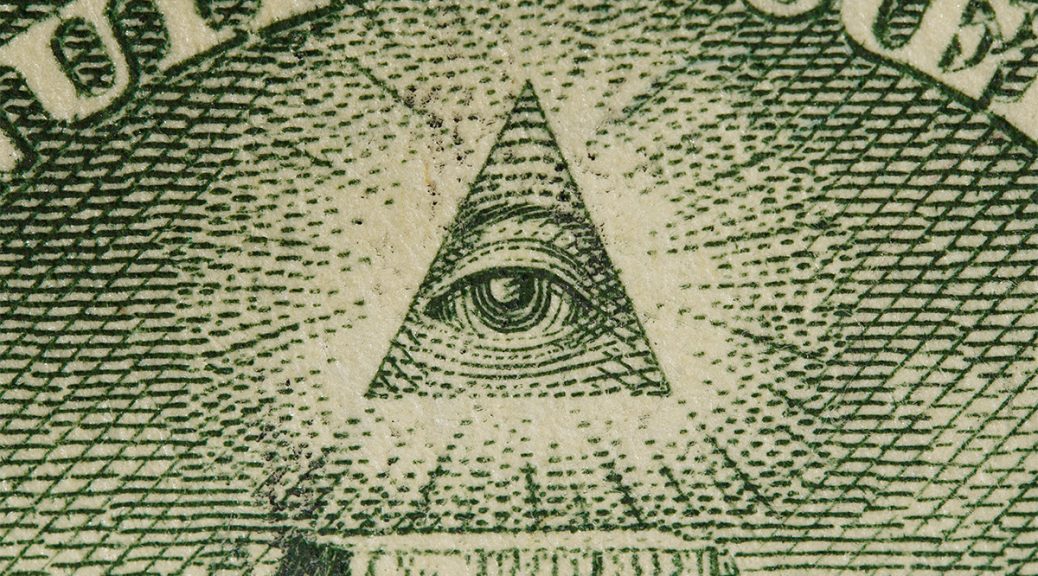
“Flying Eye” camera in the movie (mounted on the bottom of a little blimp), has a big eye painted on it that looks like the Eye of Providence, and catches the whole scene on video from above in the arena.
When Gilbert Powell gives an interview on TV after the assassination, he specifically asserts that the missile defense system deal will continue despite the terrorism. Commander Dunne sees the interview and comments, “That’s called the first draft of history. It’s going to hold.”
“Tarik” is a masculine name of Arabic origin, commonly meaning “the morning star” or “he who knocks at the door,” derived from the Arabic verb “taraqa,” meaning “to knock” or “to strike”. It is a variant spelling of “Tariq” and carries connotations of leadership, guidance, and new beginnings.
Anthea is a name that means flower / blossom / new beginnings.
Apparently Orem (Orem, Utah) means snake.
According to a source, the 1999 U.S. VHS of Snake Eyes includes trailers for Payback, The Truman Show, Dead Man on Campus, A Night at the Roxbury, and Face/Off in Version #1 (Paramount Home Video).
I think Julia Costello in the movie and Erika Kirk both wearing white with blonde hair is symbolic of something, but I’m not sure what. The white outfit contrasts with the red outfit and red hair of the woman who tricks Dunne into going up the stairs. I think the red represents the devil.
Charlie Kirk is supposed to be a Jesus figure. He died for a cause at age 33. I do wonder if he’ll rise from the dead.
With Charlie representing Jesus, the crowd cheering Tyler the Executioner and the guy chanting “USA USA” after the assassination are representative of the crowds cheering Pontius Pilate in the decision to execute Jesus in the Bible, chanting, “Give us Barabbus!”
Other Notes
Donald Trump is not mentioned by name in the movie. However, the character Gilbert Powell, played by John Heard, is widely noted in film trivia and online discussions as being based on Donald Trump. Powell is depicted as a sleazy arena director and defense contractor, and parts of the movie were filmed at the Trump Taj Mahal Hotel & Casino in Atlantic City. While Trump himself does not appear nor is he named in the film, the connection arises from the character’s inspiration and the filming location.
I think the black female reporter in the movie, Anthea played by Tamara Tunie, is supposed to represent Candace Owens. She has to stay out in the rain and report the whole thing. This is consistent with Candace Owens being controlled opposition and being the face of reporting most of the bad things happening.
I just saw that Carla Gugino played Elizabeth Kirk in the movie Heads of State that came out July 2025. In Heads of State, Elizabeth Kirk is the one who hired the assassins.
What was the significance, if any, of Julia Costello being “blind” throughout the movie? Her glasses get crushed during the assassination and she can hardly see without them. It could be that justice is blind, but it could also be another parallel to the assassination chaos blinding us to what is really going on. It’s not really “blind”, it’s just blurred vision.
How Did This Happen?
The quick summary: Snake eyes is a movie from 1998 that showed in theaters. Turning Point is a movie from 2012-2025 than showed in real life. There are simply two movies made by the same entity. The first played in theaters. The second played in real life.
Trump was going bankrupt in on his Atlantic City hotel, the Taj Mahal, in 1990. Wilbur Ross, working for Rothschild and Co. representing the bond holders against Trump, recognized the value of Trump’s celebrity status and helped structure the bankruptcy so Trump could avoid personal bankruptcy and retain control of the hotel / casino. The script for Snake Eyes was written in 1996. That gives Trump and Rothschild 6 years from 1990-1996 to make a deal that planned out the next 30 years of world events that included Trump becoming president. It’s really pretty simple: Trump, a natural celebrity who thrives in the spotlight, met kingmaker / movie financier bankers and they made a deal that took Trump from failure to success and gave the bankers a presidential candidate. Bankers planned out world events then had a movie made about it.
To be clear, I am saying that Turning Point, from the beginning, was a movie set in real life. Both assassinations are movies. How can we be fooled like this? Because we derive meaning from context. If something is set as a movie, we perceive it as a movie. If something appears in what we believe to be real life, we believe it is real life.
So, if Charlie Kirk was an actor and he was not really shot, then he is alive. So where is he or the actor who played him? Valhalla? Where is that? Kash Patel said, “I’ll see you in Valhalla,” so I imagine there is a place where real-life actors go who can no longer be seen in public and maybe they call it Valhalla? I don’t know. I do know that although the context of the Turning Point shooting was real life, I did not see a real shooting. I saw a movie set with actors.
Honorable Mention
Erika Kirk has only made one music video in her career, and it is full of symbolism:
Note: “power” includes money, influence, control, women, humanity, resources, everything people need and want.
Note 3 December 2025: I am considering a change of title to The Underlying Story Telling of Fiat Currency
We perceive that several / many factions compete for power, we see the competition before us, and a story unfolds that eventually becomes known as “history”. In fact, the power brokers compete for the story itself before anything happens. The story we are told need be true just barely enough for the masses to accept it and act on it. Power is actually contained in the story itself (not in fighting directly with brute force to make the story real, reality is barely relevant). “History is written by the victors” unfolds constantly, not just after wars are won and lost. Power brokers compete not directly for power, but for a version of the story / history in which they have the most power. If you fight a war, you risk losing all. If you compete over what story will be told, you guarantee your position among the power brokers regardless of the outcome of any war or competition.
This accounts for the massive inconsistencies in the story we are told.
This is consistent with the CONCEPT of freemasonry, which I think is relevant as an IDEA if no longer as an organization.
The dumber humanity is, the greater the inconsistencies in the story can be. The dumber humanity, the more flexibility you have in writing the story. This accounts for governments apparently wanting people to be dumb.
As humanity becomes more unified and as it becomes more difficult to convince humans to fight other humans, the power brokers introduce things like microbes and aliens to be our enemies.
As humanity becomes more unified / “one-world-government-like” it looks more and more like a single unified faction telling the story, so when a conspiracy is theorized, it is automatically assumed to be suggesting a single cabal controlling it all even if it’s actually still a competition behind the scenes.
A football game in 4K looks like two teams competing. A football game viewed from outside the stadium (which is where we stand) looks like some people making a bunch of money selling tickets, which is indeed what we perceive. Neither side really loses, that is agreed on ahead of time. They (“they”) aren’t stupid.
Snake Eyes movie quote: “That’s called the first draft of history.“
Typical Businesses
Media, all media: news, movies, music.
Government Intelligence: CIA, Mossad (intelligence agencies don’t just read media, they control it)
Psychology
Banking
Politics
Pharmaceuticals
Personal security to include the Secret Service
Space, NASA, Space Force
Modeling, fashion, beauty pageants
Porn
Pedophilia
Orphanages
Human trafficking
Coroners
Piping?
Money Drives Media
Note 3 December 2025: this should be Media Creates Money with Storytelling
I think one of the biggest misconceptions we have is that media makes money by advertising, especially that successful media makes significant money by accurately or even sensationally reporting politics or resonating with people. We imagine that if some media makes enough money, it will be successful and drive money and power. I understand that it can. I understand the concept. However, I think the reality is that political commentary of all kinds is almost always bought as an investment to drive what is popular, to control what people think. Media is purchased as an investment in the creation of politics, an investment in influence on the story that shapes and constructs the collective human consciousness.
Power money drives media and the media narrative. The media never drives enough money to influence real power.
Advertising revenue can be assume to be zero for the purposes of knowing which media is relevant. Ratings are only relevant to know which media is worth investing in for influence and power by those who are big enough to profit from the broad narrative driven by media.
Media is always telling you what to think. Media is never really reporting what you have decided to think.