Category Archives: All
All of the posts on this site.
Car Studio 43 – UFC on the White House Lawn
Car Studio 42 – Book Review Sand Talk
Car Studio 41 – Parenting Near the Solstice
Car Studio 40 – Hiring Contractors
Car Studio 39 – iPhone vs Android
This episode on Spotify.
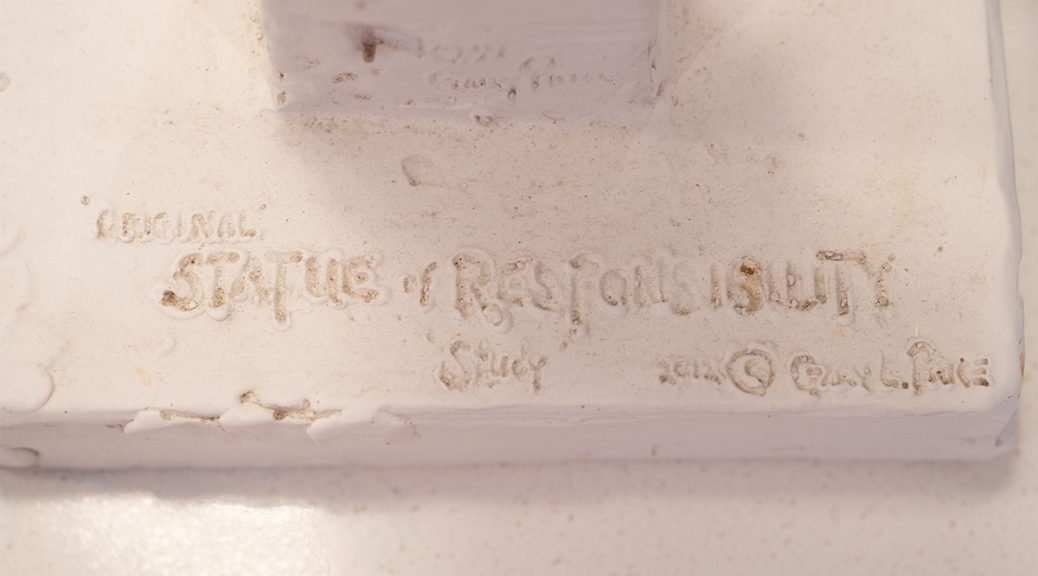
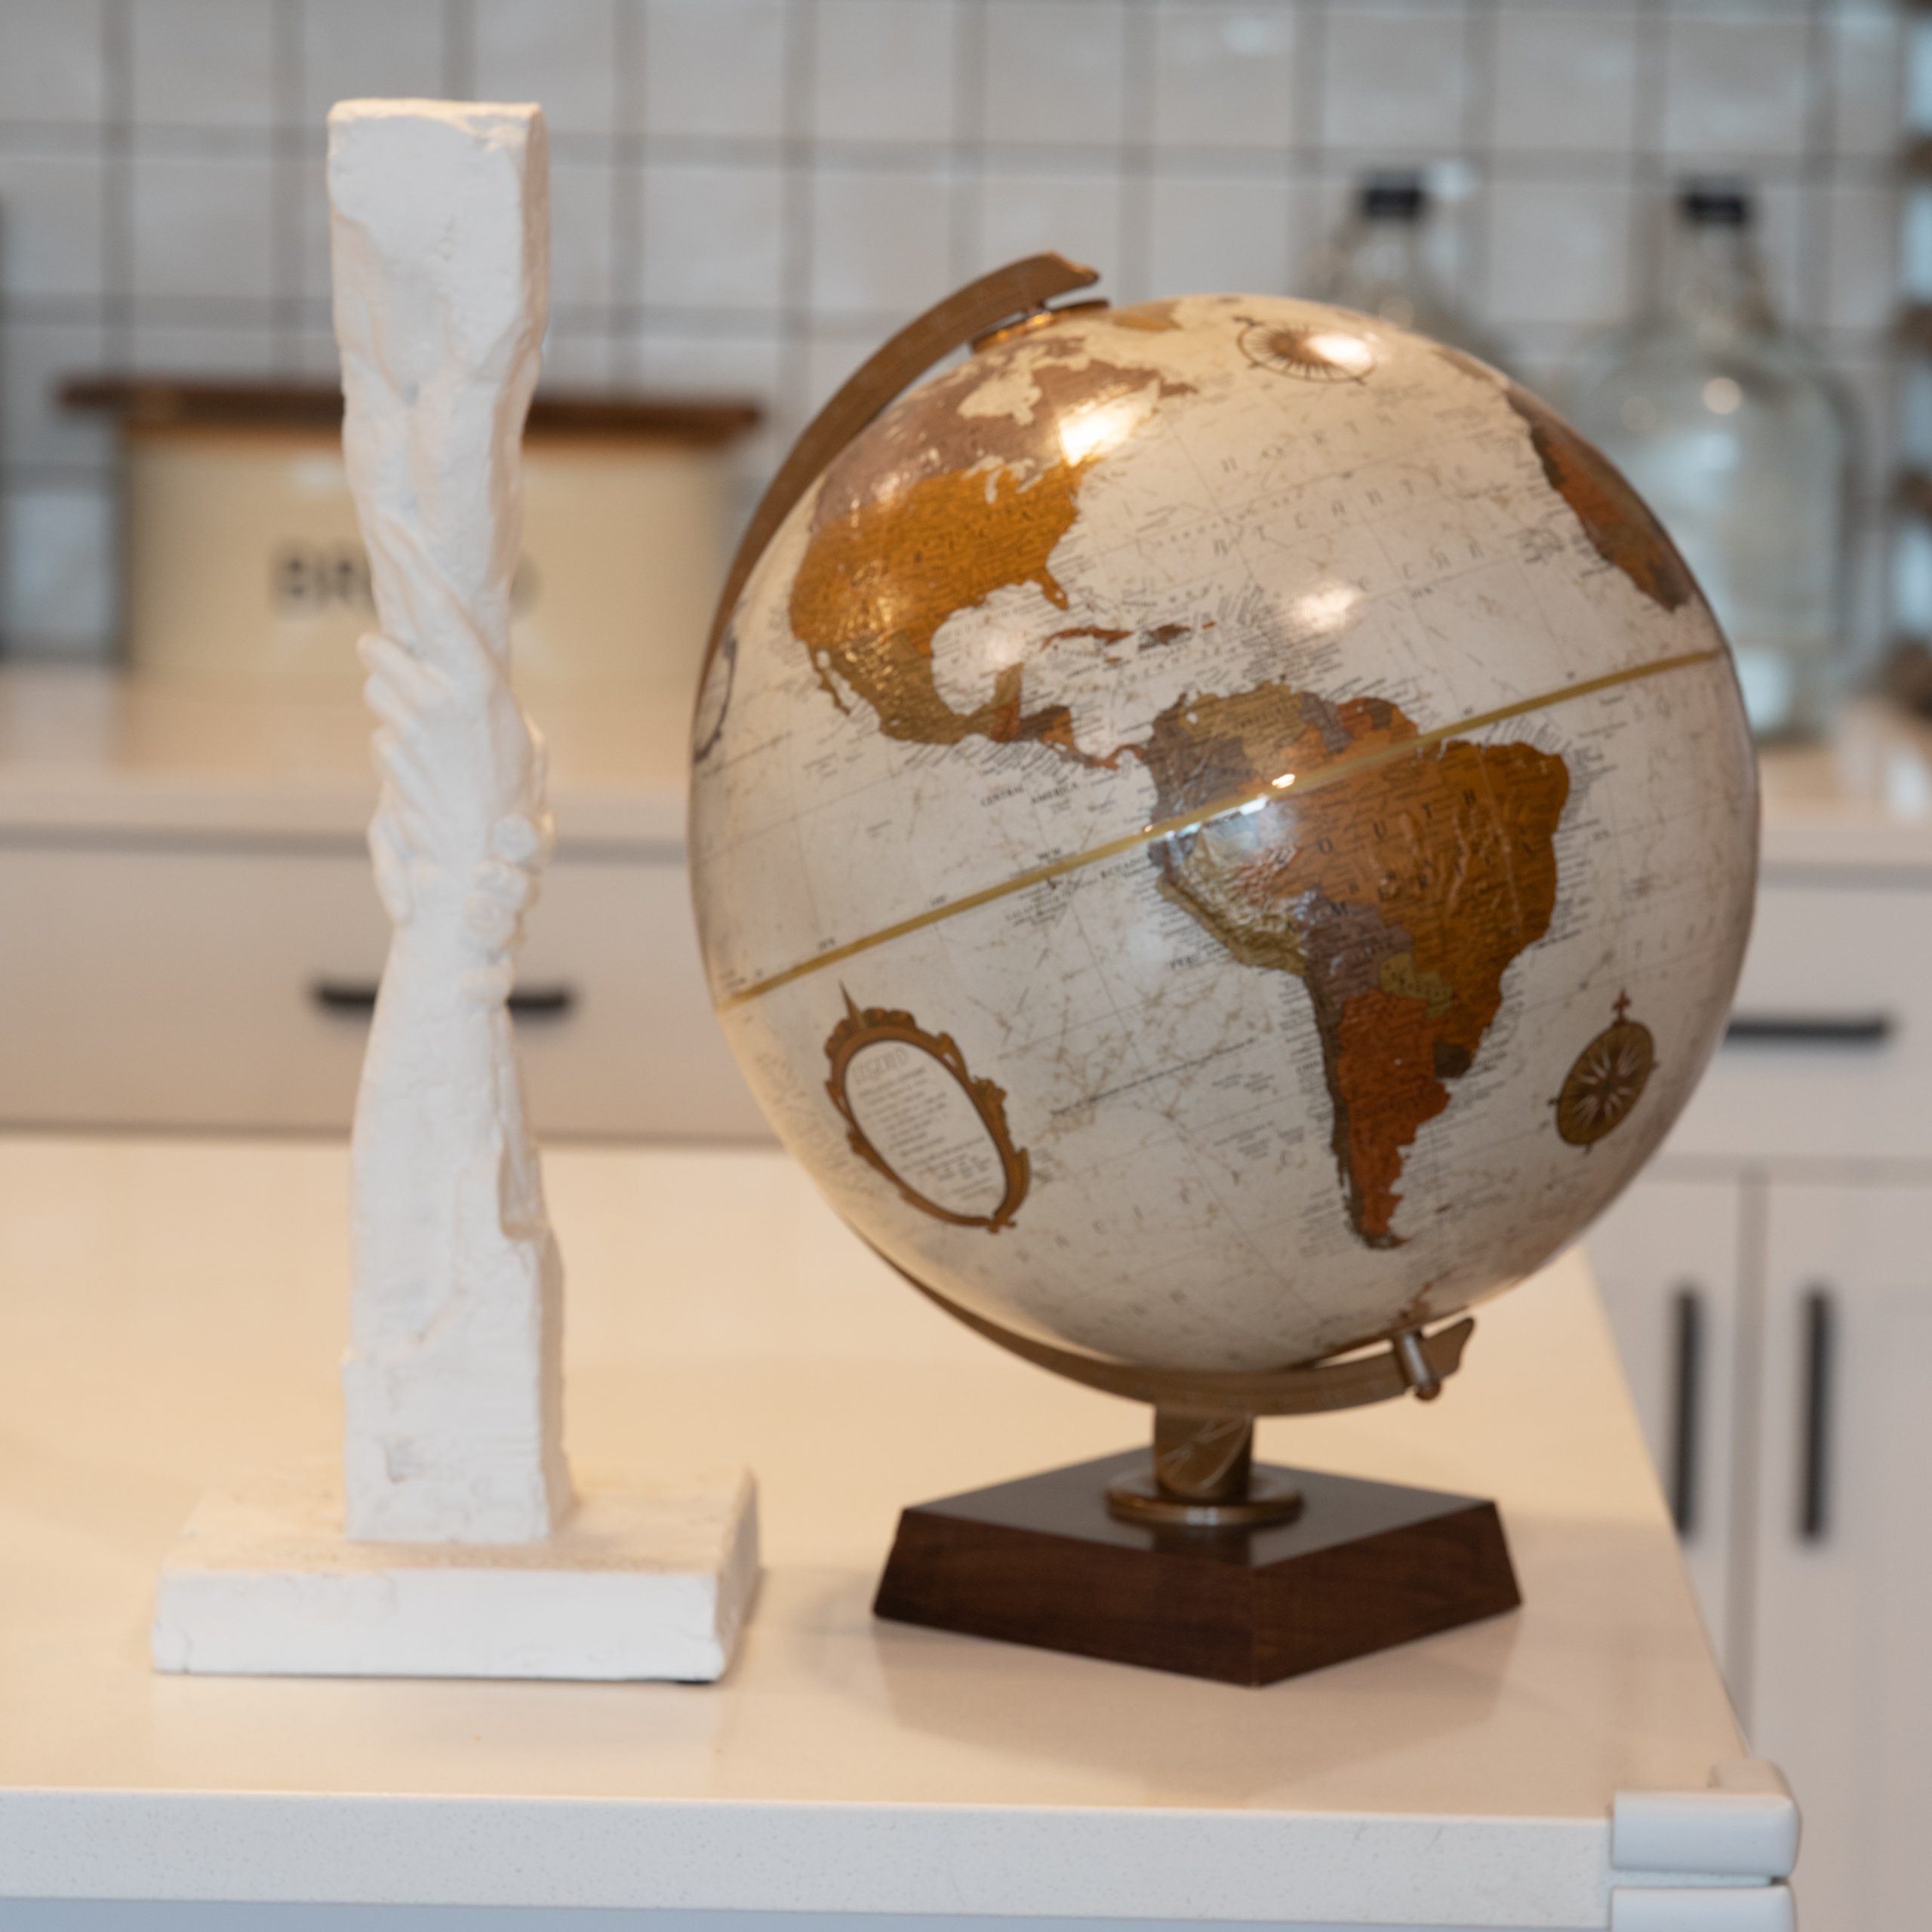
Statue of Responsibility, 11 Years Later
I wrote about the Statue of Responsibility 11 years ago here.
Since then, I have moved several times. Statues and globes are difficult things to store, transport, and move, but I am proud to say I have managed to arrive here in 2026 with my Statue of Responsibility and globe intact.
This full-size Statue of Responsibility continues to await incomplete but ready to be built. Before, I thought it was ironic, as a nation in debt, to spend money on a monument to responsibility, but now I see we just spent almost $30 million on Ellis Island to upgrade the Statue of Liberty. Even though we are more in debt now, it seems like we have quite enough freedom and we should commit ourselves to some responsibility. Any cost for such a commitment seems small compared to what we are spending on other endeavors as a nation.
Car Studio 38 – Response to If You Can Hack the Code to Reality You Become God
Response to this.
Car Studio 37: Book Review Propaganda by Edward Bernays
Artemis II – April Fools!
Artemis I was unmanned, so probably real.
Artemis II, launched on 1 Apr 2026, is the first claim of a manned mission to depart low-Earth orbit since 1972. Therefore, it’s an opportunity to look for the strings in real time.
Pretty much all imagery without people in it is probably real.
When you start to see the astronauts’ faces in shots with the Moon in the background super close, or astronauts with the Earth far away from them, those are fake. Thumbs up! Selfie! Yay! The imagery will look convincing I’m sure. It’s 2026, so technology has improved, including CGI and video splicing.
Pay attention to the post-mission interviews with the astronauts. Those will be interesting. There is a watch party for the return of Artemis II scheduled 10 April.
Hey, maybe they have solved the radiation problem since 2014 when NASA is last on record saying the Van Allen radiation is a big problem for humans. I doubt it.
I’m curious how they are going to show the Apollo landing sites. That’ll be interesting. Have we seen a high-def image of the Apollo landing sites since Apollo went there? Nope. Maybe we will now with AI image generation.
The Apollo missions, here.
Godspeed Artemis!